Control Panel
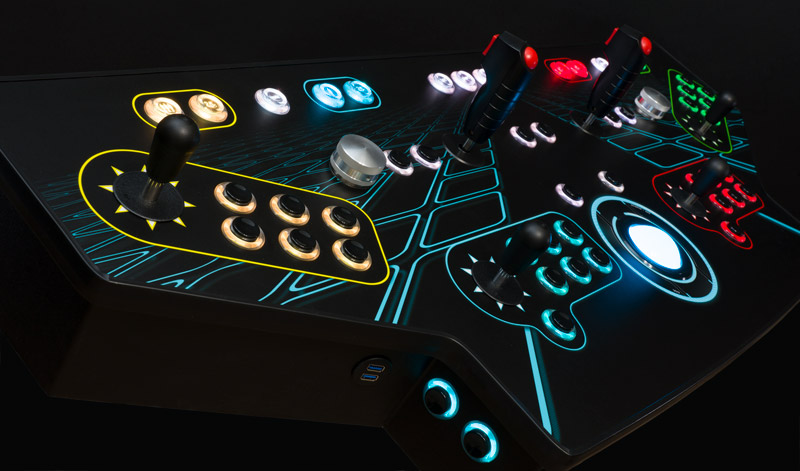
Thanks to James Van Horn, here is the example project panel shown on our header.
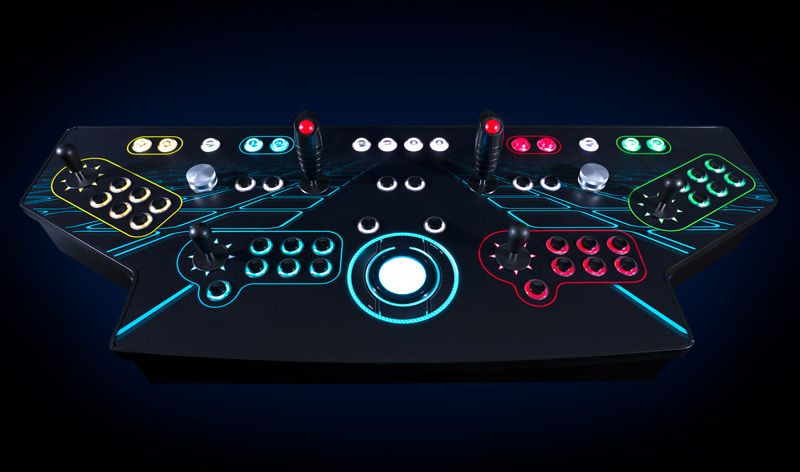
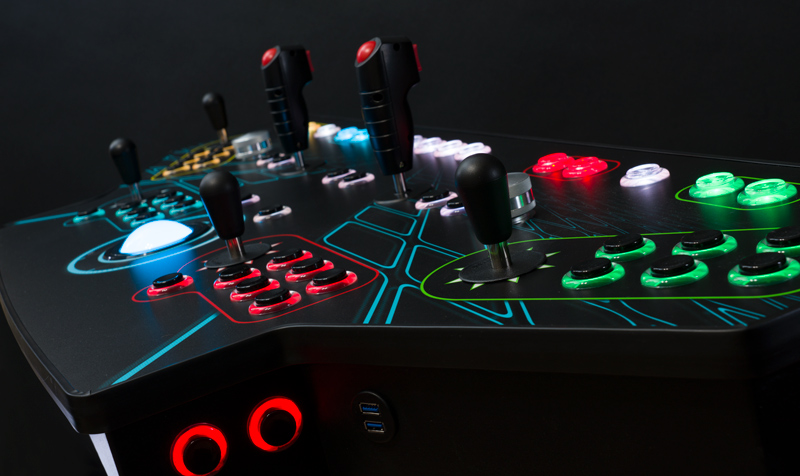
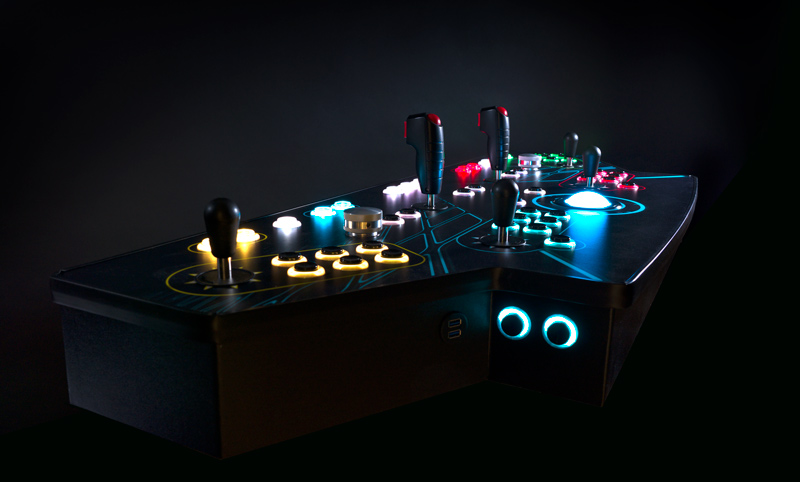
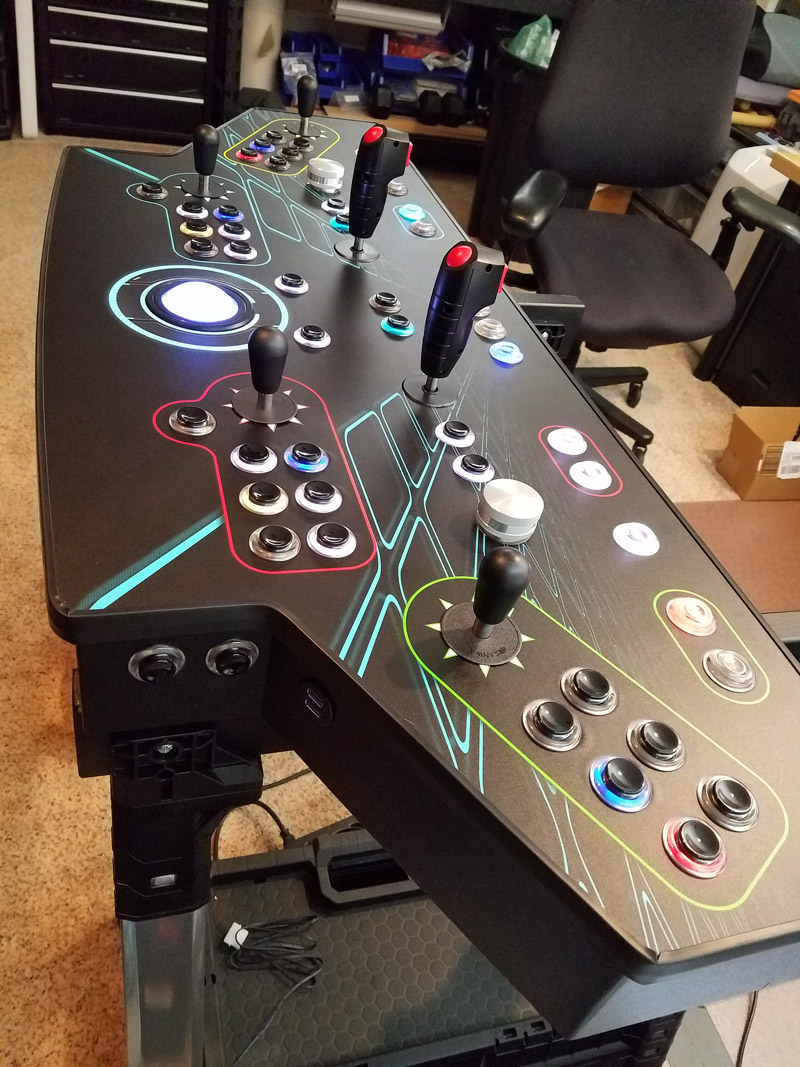
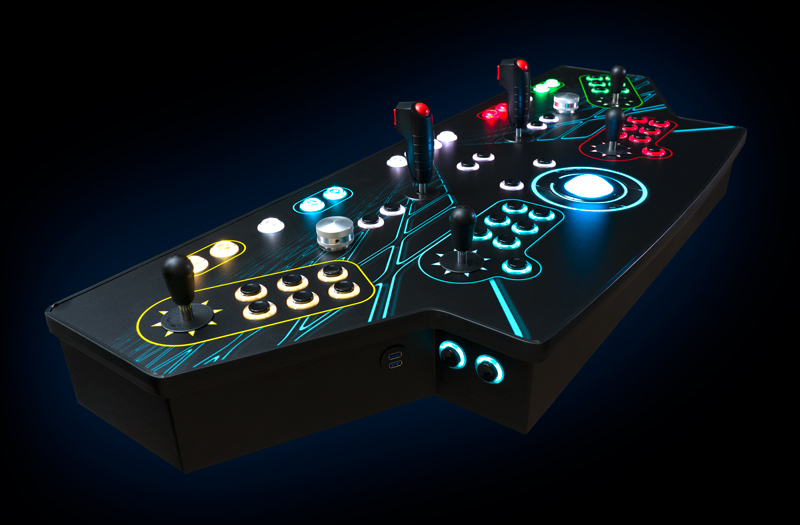
I built this loaded 4-player arcade control panel for my best friend Mark, and have everything ready to build one for myself too. We didn't hold back. We knew we wanted the best components available, so naturally we loaded it up with Ultimarc components. Andy is the best in the business and has always been extremely helpful. This control panel has:
- 52 RBG backlit buttons
- 4 buttons on the sides for pinball
- Translucent inserts installed inside the top row buttons
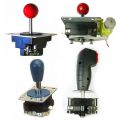
- 4 UltraStik 360 Oval Tops
- 2 UltraStik 360 Flight Sticks
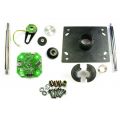
- 2 SpinTrak spinners
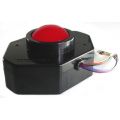
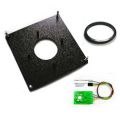
- 1 U-Trak Trackball
- RGB trackball lighting
- 4 front USB panel connectors
For the joystick selection, Mark and I believe the best joysticks you can buy for a control panel like this are the UltraStiks, period. Here's why:
- Ultrastiks can be configured to be 2-way, 4-way, 8-way, 49-way or fully analog! Fully analog means that you can move the joystick a tiny amount and your plane, for example, will only move a tiny amount. Move it farther, and it will react accordingly. In other words, fully variable.
- On-the-fly programming. Today's modern front ends make it easy to tell the joystick to switch configuration for the game that is about to launch, and then switch back after the game is over. How cool is that!
- They also allow you to decide the up orientation for players 3 and 4. This is a personal preference whether UP is the same (inward) angle as the control panel edge or the same as player 1 and 2 (straight).
- If all that wasn't enough,multiple Ultrastiks can be configured so you can have 1 stick in each hand for 2-player simultaneous Robotron style games like Smash TV and Geometry Wars! Player 1 uses both joysticks on the left side of the control panel, and Player 2 uses both joysticks on the right side.
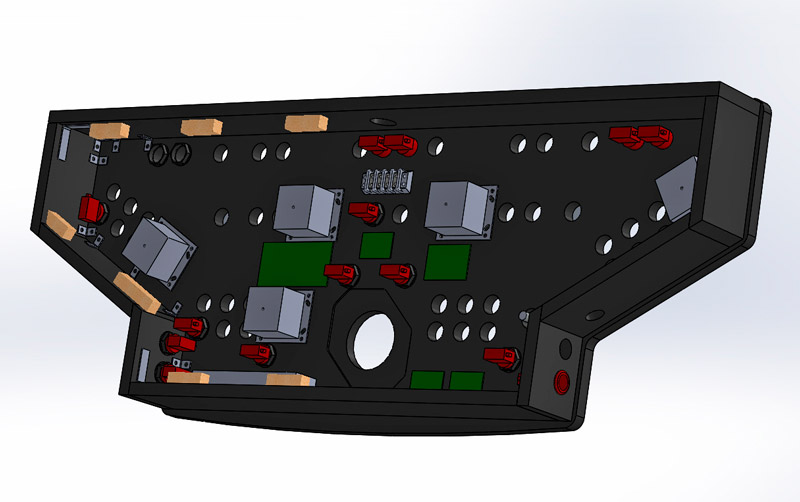
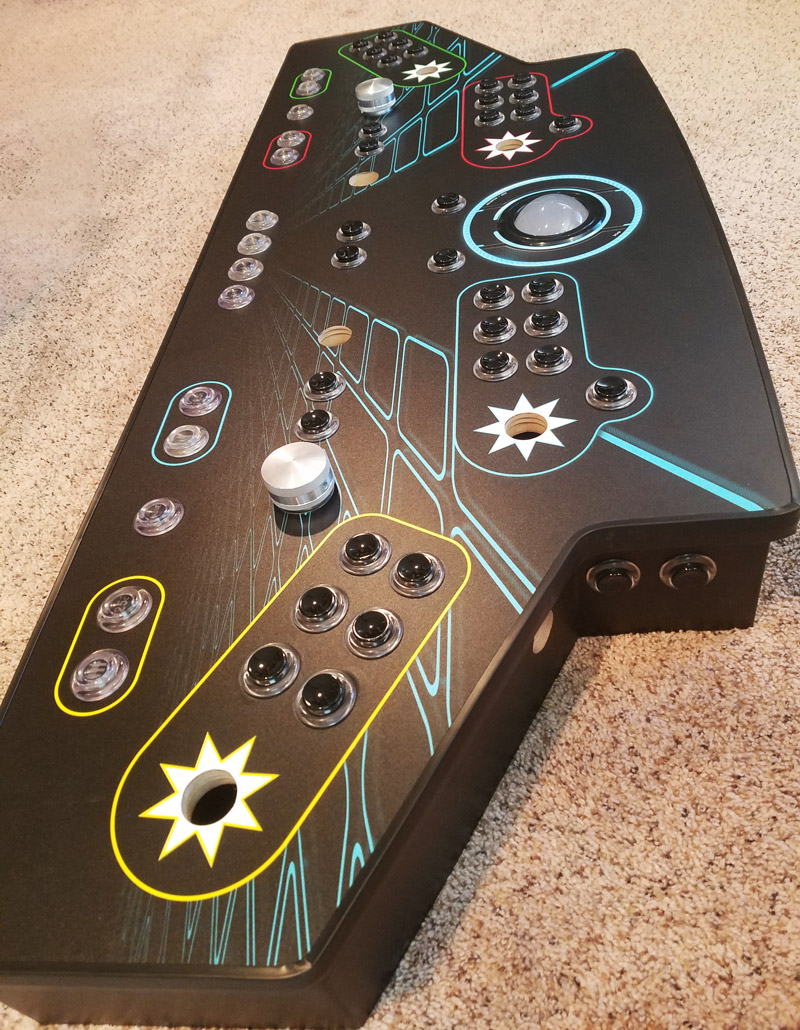
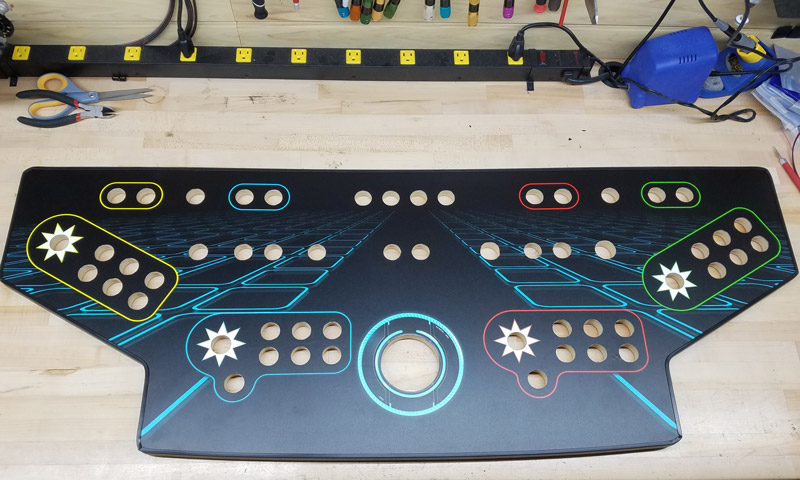
I used SolidWorks CAD to create the layout and to make sure everything fit as this was a complicated build. Having 6 buttons for players 3 and 4 allowed for past and future game flexibility, provided excuses for having more RGB bling, and when neighborhood kids come over to play with my kid, you won't hear "Why does he have 7 buttons and I only have 4?" We knew that putting a spinner or a joystick directly in front of the trackball is not a smart idea if you like to play games like Golden Tee Golf. Providing a clear path in front of the trackball removes the possibility of jamming your fingers into a spinner after trying for a 300+ yard golf swing. We also decided to mirror the flightsticks and spinners. For games like Tron that use a flightstick and spinner simultaneously, this allowed player preference on which hand had the spinner and which hand had the flightstick. We made sure that there was plenty of distance between Player 1 and 2 so that shoulders and feet won't be touching during simultaneous gameplay. I measured the width of typical pinball machines and made the control panel to match. Front USB panel mounts allows for even more nostalgic feel for authentic hand held controllers like Atari controllers, Nintendo controllers, etc. We have plans to add quick release mounts for a Star Wars yoke, Paperboy controller, or a steering wheel.
For our family, we will be setting the control panel on our coffee table or saw horse legs. We will use our TV and the same HTPC machine to run the gaming software. Mark wanted his to be on a pedestal, so I created one for him with 120mm ventilation fans and an access door on the back side.
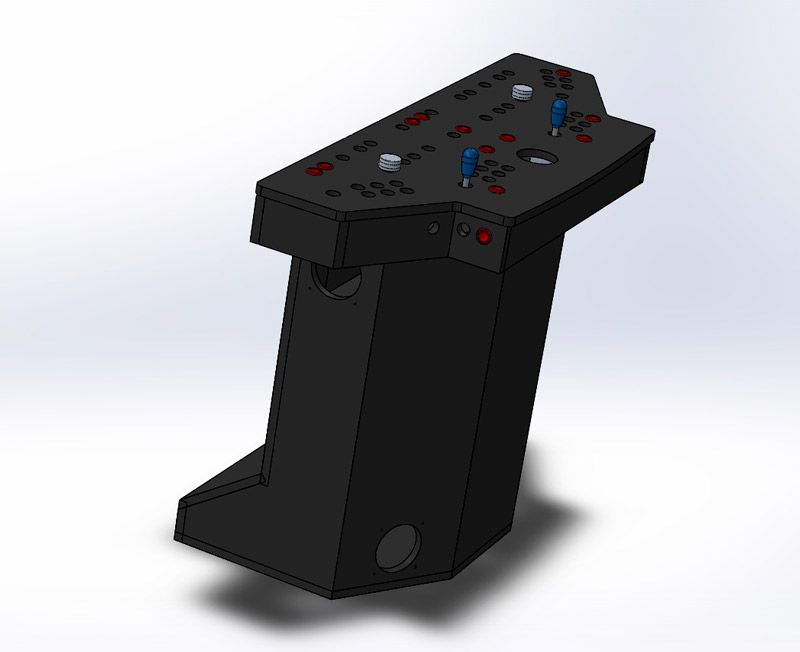
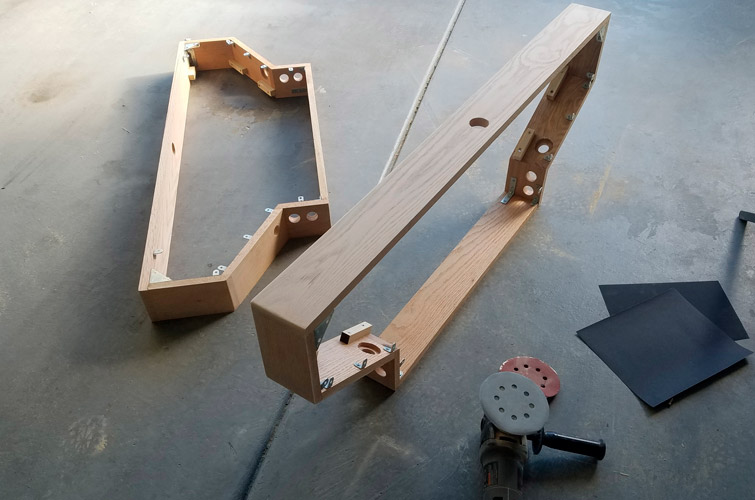
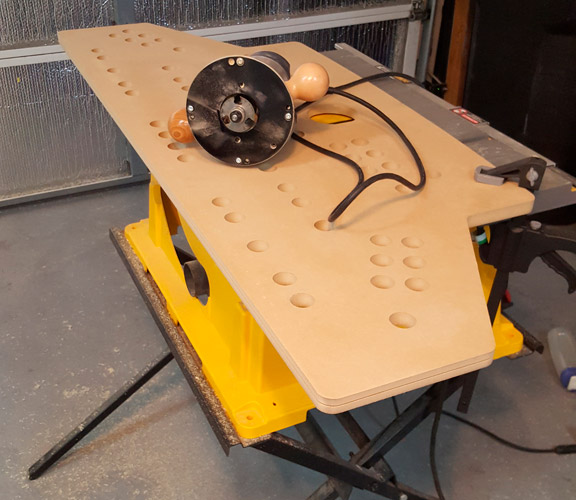
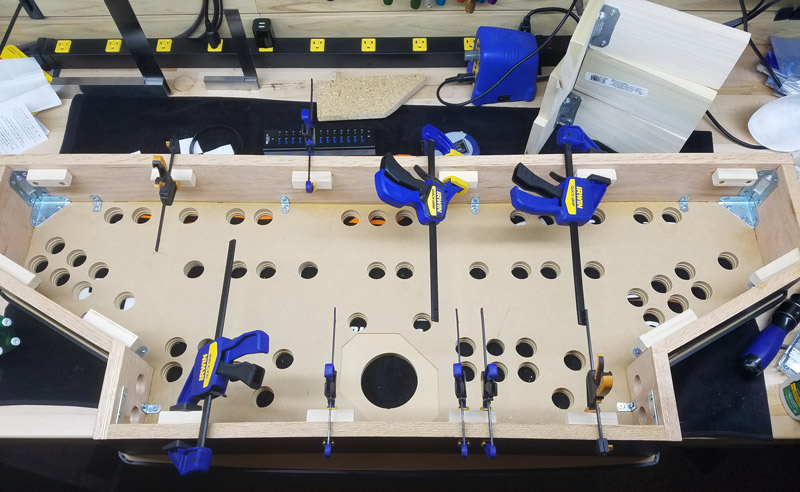
For the main panel, I CNC'ed 3/4" high density MDF. For the frame, red oak was worth the premium. Mark wanted black textured vinyl on his frame. For mine (not pictured), I used black India ink which was also an excellent choice as it shows the oak wood grain.
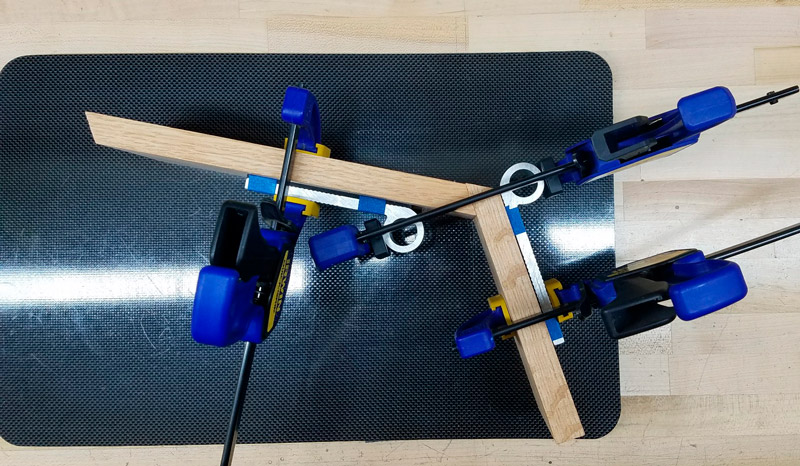
My garage is just an average garage, so I don't have any way to hold odd angles while the wood glue dries. I found Blokkz universal clamping blocks does the trick nicely for any angle. I strengthened it even further with 90 brackets everywhere. I probably went overkill with all of the metal supports and even glued the frame to the main panel. This control panel will be with us until we die hopefully.
I designed the overlay in Photoshop and had GameonGrafix print them on textured vinyl. As usual, they do great work. My control panel is slightly different than this one. I went with all Tron colors (red and blue from the original Tron movie, and yellow and white from Tron Legacy).
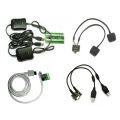
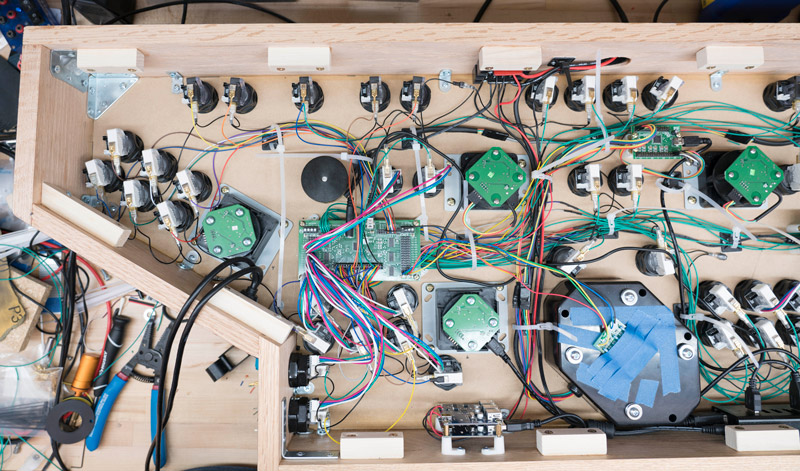
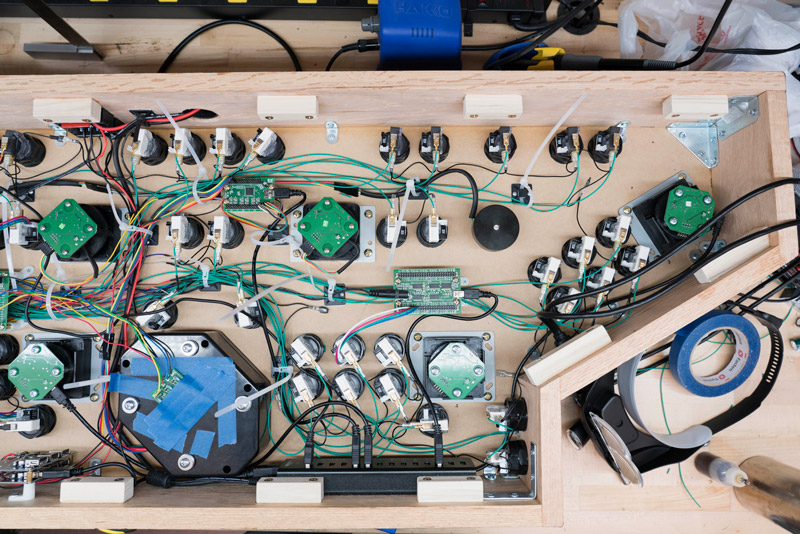
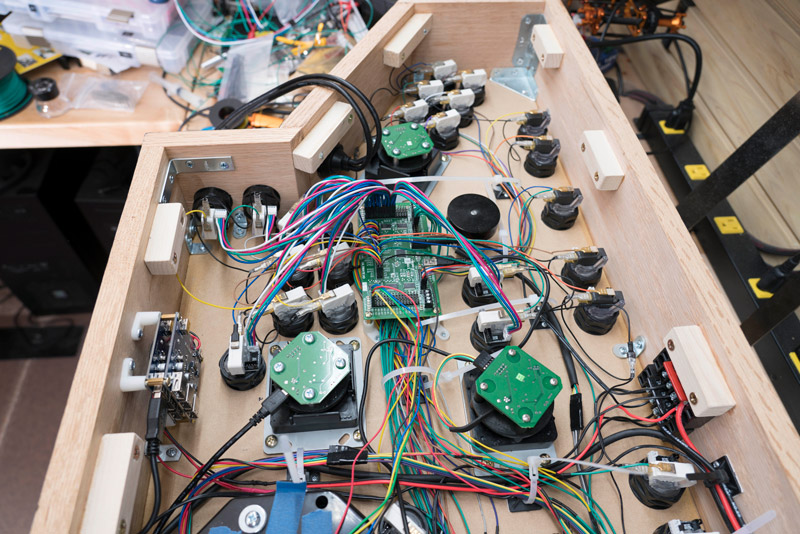
Currently, UltraMap software can only handle 4 UltraStik 360 ID's, so having 6 of them in this control panel presented a problem. To solve it, I used a pair of Yepkit Ykush USB Switchable Hubs. This essentially allows me to unplug any USB device via command line. This is better than disabling a USB device in Windows. To the computer, it appears as if it was physically unplugged. At any given moment, I only have 4 UltraStik 360 joysticks active. In the future, Andy may update the UltraMap software to handle more joysticks, but for now, this works perfectly. I used a traditional powered USB hub to handle the large number of devices that are used in this control panel. The hub needed 12V and some Ultimarc boards needed 5V, so I use a Mean Well RD-125 dual voltage power supply. The power supply sits outside of the control panel. I only have 2 quick connectors coming outside of the control panel: 5/12V and USB 3.0. This makes it quick and easy to set up in front of our TV.
For the brains of this control panel, I used:
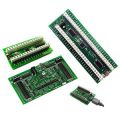
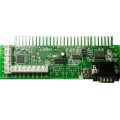
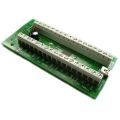
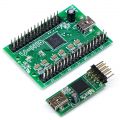
- 1 I-PAC Ultimate I/O
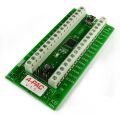
- 1 PacLED64
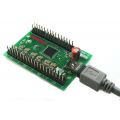
- 1 U-HID
Technically, I didn't have to use the U-HID because the SpinTraks come with their own USB interface board, but the U-HID allowed me to put both spinners on the same mouse ID (one on the X axis and one on the Y axis). I've seen a small number of spinner games (like Richet Inifinity) that look for the mouse to be on the same ID. So if I'm going to make the ultimate control panel, I'm not going to hold back on anything. I found a program called EitherMouse that offers the ability to set each mouse/spinner speed independently of each other. Windows does not offer this.
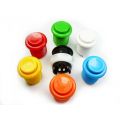
For the buttons with RGB LED illumination, Ultimarc offers GoldLeaf RGB buttons with the optional black insert which gives this effect. (The painter's tape on the trackball is only there temporarily to prevent
any dust from getting inside the trackball during construction.)
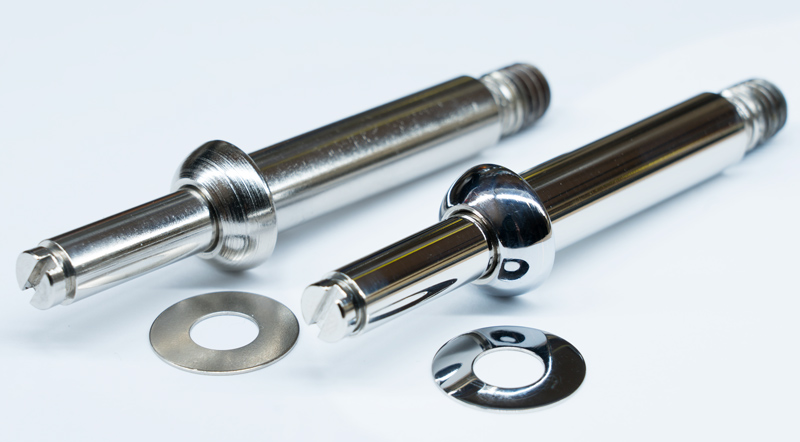
I'm so glad that Andy chose to use the Sanwa JLW as the base for his UltraStik 360's. Compared to the JLF joysticks, JLW's are much heavier duty, and use metal pivots instead of plastic for smoother action. As a fanatical RC racer and designer, we know the importance of perfect suspension components and it was natural for me to polish the JLW joystick shafts, pivots, and washers. This allowed them to have butter smooth action and allowed them to center better.
For the front end, I recommend LaunchBox + BigBox. LaunchBox is the power behind maintaining your games, emulators, and hardware configuration. BigBox is used to bring it all together and to protect your hard work with a foolproof interface that family members and friends can use that will not allow them to get into any trouble.
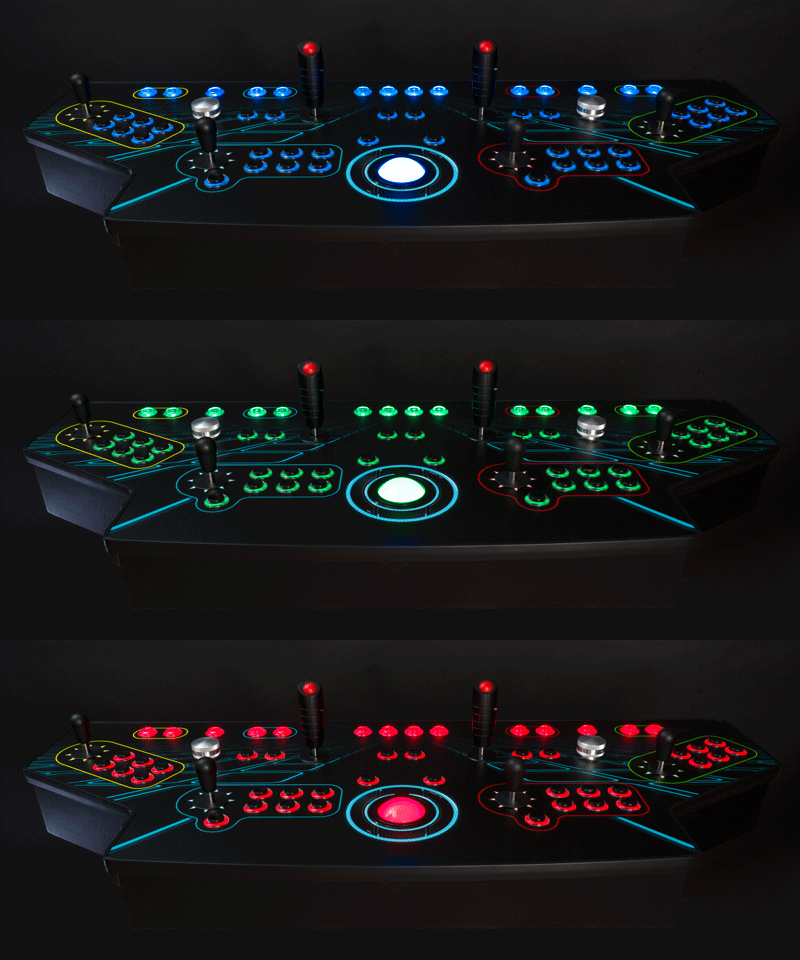
LaunchBox and BigBox have so many powerful features. For example, when I fire up the control panel, it uses an attract mode that I created. LaunchBox and BigBox will do a colorful startup sequence, then go to specified default colors that I created, then when I select Street Fighter II (for example), it will change the 6 buttons to match the original arcade button colors (red, white , and blue), set the UltraStik 360 joystick modes to 8 way, disable the Flightsticks, send the Street Fighter II marquee to the 2nd monitor, and launch the game. With the help of LaunchBox and Ultimarc hardware, each game launches it's own set of RGB colors, joystick configuration, marquees, etc.
Special thanks to Andy and his team for their support and great products. Contact me or Andy if you have any questions.
-James Van Horn
This is a superb panel, we have had many comments asking about this since it appeared on our site.
Just to offer some suggestions which are not intended as improvements but alternatives:
Pushbuttons: James built this panel before our black-center pushbuttons were available. We now have add-on black button centers for our Goldleaf RGB buttons.
The two Ultrastik 360 FS offer full analog so some people might want to look at ServoStiks for the main 4 joysticks, as these offer a hard 4-8 way restriction which many people prefer. They can be configured to auto-switch from the front-end.
That would add 16 extra switches to the panel. So the suggested interfaces would be 2 X I-PAC Ultimate I/O boards. These would also handle all the LEDs and trackball and spinner.
One board would be mounted on each side of the panel thus eliminating any short-wire issues.
The use of the U-HID for the spinners is not really required, as James suggests. Definitely not needed for Mame. Its best to have the two spinners as different device IDs to avoid Windows randomly swapping them, but that's easily accomplished by connecting one to each of the Ultimate I/O boards. In some other configurations this could best be done by having one use its own interface and the other via an I-PAC board.
Optional extras would be:
- Joystick mounting kits (5mm)
- PCB mounting feet x 2
- Goldleaf logo inserts (Please note these are on the way, not yet in the store)
- Extension wires are unlikely to be needed in a 2-board config but otherwise, the "Extension harness pack" handles 10 longer pushbutton wires and "200 mm M-F 4-way extension" handles spinner and trackball (two needed for trackball).
Cheers
Andy
My account
Ultimarc
Customer Service
© 2024 Ultimarc

