- View all variations as list
| Part Number | Handle Color | Availability | Price | ||
|---|---|---|---|---|---|
|
|
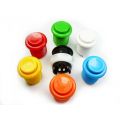
CJMP01_BLK
|
In stock
|
$39.00 | ||
|
|
CJMP01_RED
|
In stock
|
$39.00 | ||
|
|
CJMP01_BLU
|
In stock
|
$39.00 |
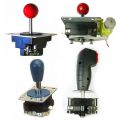
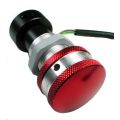
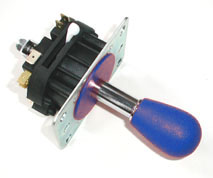
4-8 Way Switchable from top of the panel.
The Mag-Stik is not centered by a spring but using an internal magnet. A light action gives the ultimate in joystick feel and sensitivity.
Also switches from 4 to 8 way mode from the top of the panel!
This is the only joystick in the world which can be switched over from 4 to 8 way from the top with no lever or other unsightly intrusion. Keeps the panel arcade-real but still gives the ability to play all 4 or 8 way games with the true feel of the correct mechanically-limited stick.
To switch: Pull out the stick against the spring pressure, continue pulling while rotating, until the mechanism engages, then turn anticlockwise for 8-way, or clockwise for 4-way. The stick clicks into position when turned 45 degrees. The mechanism actually rotates an internal restrictor plate and also rotates the microswitch actuator for a perfect 4-8 way transition.

Mag-Stik Switch Connections: Special Installation Information
There are three different types of switches used on the Mag-Stik.
They all have differing connections. To ensure you use the correct
wiring, remove one switch by unscrewing the single fixing screw. On
the other side of the switch the connections are marked in the form of a
diagram as below:

Mag-Stik Plus Dust Washer.
If your mounting method leaves the Mag-Stik Plus plastic dust
washer resting directly on the joystick faceplate, the washer might
become lodged under the chrome sleeve on the shaft if it is pulled
fully outwards during the switch from 4 to 8 way. There are two
possible quick fixes for this: Either bend the washer so that it is
slightly convex, or position a thin piece of card, cut to roughly
the size of the washer, under the washer, to hold it away from the
faceplate.
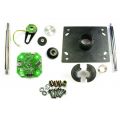
Mag-Stik Dismantling.
If your mounting method required removal of the joystick knob, this
is done by removing the entire shaft. The Nylock nut on the rear
end of the shaft is removed first. On the Mag-Stik Plus note
carefully the order of assembly of the parts, especially the
location of the toothed lock-washer, under the U-bracket. Beware of
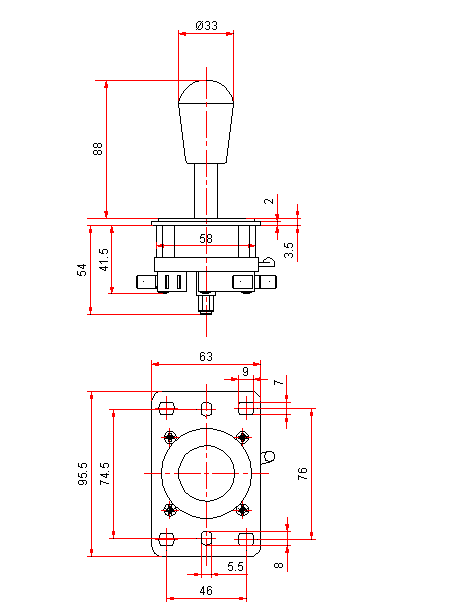
the spring which is under pressure! In case you forgot how it fits
together here is a diagram:


