IMPORTANT: The amp is designed to be connected to a
VGA card which outputs 5 volts on pin 9 of the VGA connector. Older VGA
cards may not have this facility. Our ArcadeVGA cards do have this
feature.
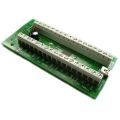
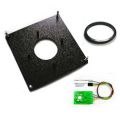
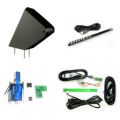
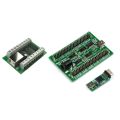
This is a standalone video amplifier which converts the 1 Volt output
from a VGA card into 4 Volts required by most arcade monitors.
The circuitry is exactly the same as that used on the J-PAC and uses a
high-bandwidth video amplifier chip. It provides an easy way of fixing
a "dim" arcade monitor installation by boosting the signal input to the
same level as a "real" game board.
The amplifer contains four channels, Red,Green,Blue and Sync. The Sync
is a buffer rather than an analog amplifier, and this is to avoid the
"fold-over" at the top of the picture on some monitors that are sensitive to DC input levels.
Installation:
Identify the R,G,B input wires to the monitor. These are often actually
coloured Red,Green,Blue.
Identify the ground wire to the monitor, and composite sync.
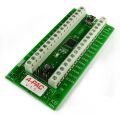
Cut these wires and strip. Connect the monitor R,G,B, Sync and Ground
wires to the "OUTPUT" terminals of the amp.
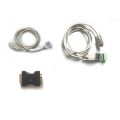
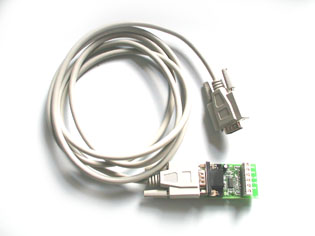
The amp comes with a cable to connect to the VGA card.
Almost all monitors, even those which have separate V and H sync
inputs, will work with composite sync (generally connected to the H
input) A few monitors may need separate H and V sync though. In this
case the syncs can be separated by doing the following:
Identify the location on the PCB marked "CUT for H/V"
Cut through the short section of track between the two "half-moon"
shapes.
Connect the monitor vertical sync to the connection (white terminal
block) marked SYNC
Connect the monitor horizontal sync to the connection (white terminal
block) which is unmarked.
Wiring to a 5 volt supply This step is NOT needed for ArcadeVGA
or any new VGA card. This is only needed if your video card does not
output 5 volts on pin 9 of it's connector. All currently-produced cards
do send 5 volts on this pin so this step is only needed with older
cards such as ATI Rage 128.)
Locate a 5 volt supply, for example from the header connector on the
I-PAC (see
I-PAC page
for pinout) or from the PC game port or a drive power connector etc.
Don't use a mains adaptor, these do not give a stable enough output.
Connect the ground from the supply to the GND white terminal block
connection. Solder the 5 volt wire to the PCB pad indicated by the
arrow on the picture below:


